Photographer’s Guide to Skye | Top Ten Location
People travel from all over the world to visit Skye. They come for a multitude of reasons, but one of the most popular is for photography. The Isle of Skye has an amazingly diverse collection of landscape subjects, all crammed into a relatively small area. Where else could you go out for a day with your camera and end up with great shots of mountains, waterfalls, castles, lighthouses, beaches, and iconic rock formations such as the Old Man of Storr?
Even with an abundance of locations to choose from, knowing which ones to go to at the right time of day is key to getting great photos. To help you out, we’ve highlighted ten of the best photography spots on the island, along with information on when is best to visit and what to look out for once you are there.
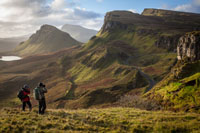
01 - The Quiraing
By far the best photo location on Skye, and one of the best in the world. The attraction is not only its unique and amazing hills, cliffs and rock formations, but the limitless opportunities for viewpoints and compositions. You can shoot from right next to the car park if you don’t fancy a walk, but if you have the time and energy to go exploring, then the further you walk the better the opportunities become. Most people tend to walk to the north, but there are also some great locations if you walk to the south. This way involves a much steeper hike though, so go north if you like the easy option. Be sure to be here at the beginning of the day, as the entire area is in shadow in the evening.
02 - Talisker Bay
Access to the island’s most attractive beach is via a 20 minute easy walk from the car park. Make sure you don’t visit here at high tide as there will be no beach! The best time to visit is on a receding tide, about 2 hours before low tide, as this will ensure you have a beach free from footprints. Once on the beach you will see a prominent sea stack on the left hand side as you face the sea, and an impressive waterfall (if there has been recent rainfall) to the right hand side. Both of these make for great backgrounds. All you need to do is wander along the beach to find suitable foreground subjects. Consider using the many rocks scattered among the sand, the patterns formed by the waves on the black volcanic sand, or the waves themselves as they wash in over the beach. Try using an exposure time of around a second to capture movement in the waves.
03 - Sligachan
Everyone who visits Skye probably passes Sligachan at some point, as it’s the crossroads of the island. It’s worth stopping here as there are a number of excellent photo locations in the area. Regardless of the time of day or year, there is usually something which works well here. The obvious starting point is the old stone bridge, but at many times this can be covered in tourists which ruins its appeal as a photographic subject. Walk upstream though and you’ll soon be out of sight of most people, and depending on how much rainfall there has been recently, you may find some attractive rapids and small falls within a few hundred metres of the bridge. Continuing upstream to the wooden footbridge (and just beyond) will reveal some impressive waterfalls which look great with the Black Cuillin as a back drop. Drive a mile up the road towards Dunvegan and you will pass Loch Nan Eilean on your left hand side. This is an excellent location in still conditions when the water will reflect the mountains.
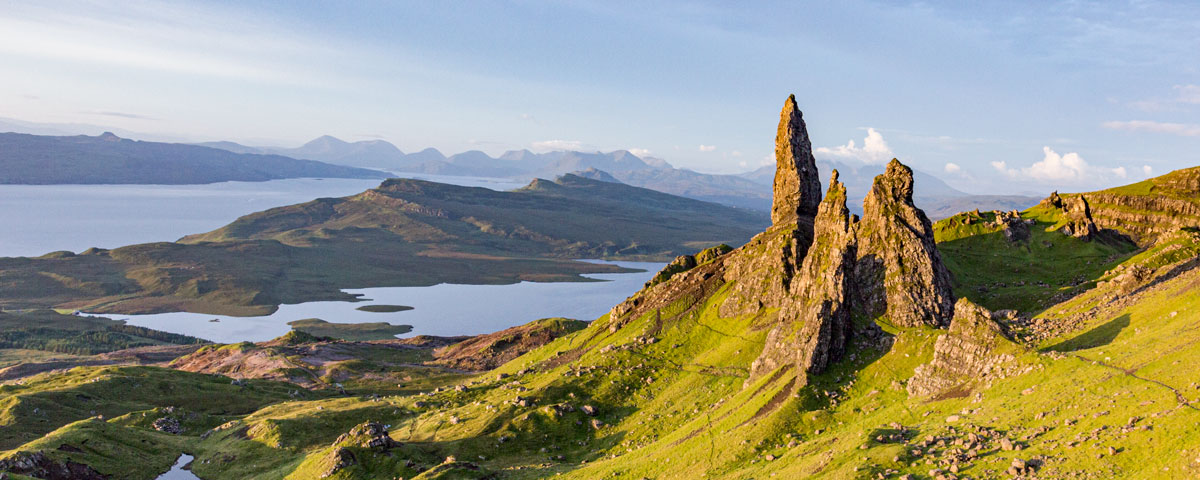
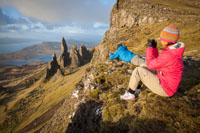
04 - Old Man of Storr
The most popular location on Skye for visitors, but they mostly arrive between breakfast and dinner time. Storr doesn’t work at the end of the day, so the best time to photograph it is before sunrise. It’s a 40 minute relentless uphill hike from the car park to get to the main rock formations, but the best photos are from viewpoints slightly higher and to the north. To access these, allow an hour from the car park, which means you will need a good head torch as you’ll be setting off in the dark. It’s also worth taking time to explore the area to the south of the Old Man, as there are a number of great viewpoints in between the various rock formations.
05 - Loch Fada
Located just a few miles north of Portree on the A855, this loch lends itself to photography because of the island situated in the middle of it and the fact that the backdrop is of the mighty Storr - Skye’s highest peak outside of the Cuillin. The best time to visit is at dawn when you’ll have the best chance of getting a clear reflection on the water and to capture the first light of the day striking Storr. The good thing about this view is that it works wide angle or telephoto, so regardless of what equipment you have, you should get something good from here if the conditions are suitable.
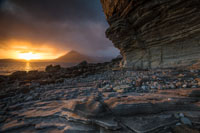
06 - Elgol
This is a very popular location for photographers so don’t expect to have the place to yourself. The most popular time is just before sunset, but this location can be just as good at dawn. Unless you are staying in Elgol itself though, you’ll have a lengthy drive to get there, which is why it’s more popular at the end of the day. Access the pebbly beach next to the school and turn right, walking towards the mountains in the distance. After a couple of hundred metres you’ll pass Honeycomb Rock which is a popular photo subject in itself. Walk a little further though for the best views towards to the Cuillin mountains and to get the most interesting foreground. Try to get close to the water’s edge and capture the motion on the waves crashing around the jagged rocks.
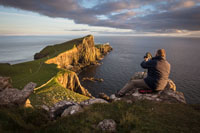
07 - Neist Point
Probably the most popular location to watch the sunset during the summer months. Neist Point is actually the most westerly point you can drive to in the UK without having to get on a boat, so it makes sense for it to be a natural sunset location. It only works at the very end of the day, and is best during the late spring or summer months when the sun will be setting off to the side of the scene. The iconic views are from the cliff top which is just a short walk from the car park (don’t walk down the path to the lighthouse). However, there is plenty of potential to be original here if you take time to explore the area and look for unique viewpoints.
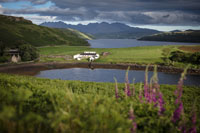
08 - Boust Hill
A location you can shoot from the roadside, so no need to worry about fitness to get this shot. There’s a long parking bay on the A863 a mile south of Struan, which is marked on all OS maps with a “viewpoint” symbol. The best time to be here is around 4pm when you can either shoot south towards the farmhouse or straight out over the sea. In the winter, this will be around sunset, so you may be lucky enough to capture some great colours in the sky. In the summer, the sun will be high above the horizon but shining off the water or the mountains in the distance.
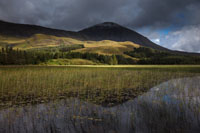
09 - Loch Cill Chriosd
Also known as the Hairy Loch, this easy to access body of water is found on the road to Elgol, just a few miles west of Broadford. Ideally you want to visit here when the weather is calm, as this will provide a nice reflection of the distant hills and reeds on the water. Even without a reflection though, this location can work well. Early morning will typically provide the best light at this location, but it can work at any time of day and at any time of year if the conditions are right.
10 - Uig Bay
Situated in the north of the island, Uig is the gateway to the Outer Hebrides and most people simply pass through on their way to the ferry. However, if you spend a little time in the area, you’ll find plenty of stunning views from all sides of the bay. This view is from the road on the way to the Fairy Glen, so you can cover two great locations at the same time. Usually works best around sunset, but can be good at any time if the conditions are right.
Photography Tips
Top tips for capturing award winning photos
Stability
Try to use a tripod if you have one, as this will allow you to get crisper shots in low light situations such as at twilight. If you don’t have a tripod, then make sure your exposure time is fast enough to guarantee sharp shots. Everyone has a different ability to hold a camera steady, but a good general rule of thumb is to make sure that your exposure time is at least double the focal length of your lens. For example, if using a 28mm focal length then your exposure time should be 1/60th (2 x 28 = 56) or higher. The longer your focal length the shorter your exposure time needs to be in order to prevent camera shake.
Don’t use Auto ISO
ISO is the sensitivity of the camera to record light. This can be set to a range of values, usually from ISO 100 up to around 6400 depending on your model of camera. If you have your ISO set to auto, the camera will decide which setting to use and will select high values when the light levels are low. Using high ISO settings will result in poorer quality results. It’s better to take control of ISO yourself and try to use the lowest possible setting (usually around 100).
Try to avoid taking shots from eye level
Whether using a tripod or handholding the camera, the instinctive height to position the camera is around eye level. However, this will result in a very familiar view of the world and will probably be lacking in any drama. Try crouching down low or getting up high on a hillside for a more novel viewpoint, as this will inject impact into your photos.
Think about composition carefully
When taking a photo of a subject, most people place the subject in the centre of the frame. Only do this if there is a good reason to do so (which will be obvious if one exists). Instead, try placing your subject off to one side, usually around a third of the way from the left or right of frame. The same goes for horizons - try placing them either a third of the way down the frame or a third of the way from the bottom. Positioning a horizon in the centre of the frame is unlikely to result in the best composition.
Pay attention to the light
For some reason, most people seem to think the best place for the sun to be is behind you. This is actually the worst place it can ever be, as you are viewing your subject from the same direction it is being lit from, then the light is going to look very flat, as there are no, or few, shadows present. If you want your photo to have depth, then you need to have the sun off to your side. Shooting into the light can produce some very dramatic results but this situation presents more technical challenges in terms of exposure and avoiding flare.
Skye Photo Academy
If you would like to take a more in-depth look at how to kick start or improve your photography skills while on Skye, take a look at the Skye Photo Academy, and its services from an award winning team of professional photographers. Courses cater for all levels of experience and can last from four hours to several days.
